^ Back to Home Page ^
o
| I hope to have it finished by end August, just in time for the Spring mild weather.
EVERYTHING will be stripped down, including motor, and renewed. I will be modifying it just a little to give it a retro feel. Cheers.......chris dupen, owner netbikes.com.au |
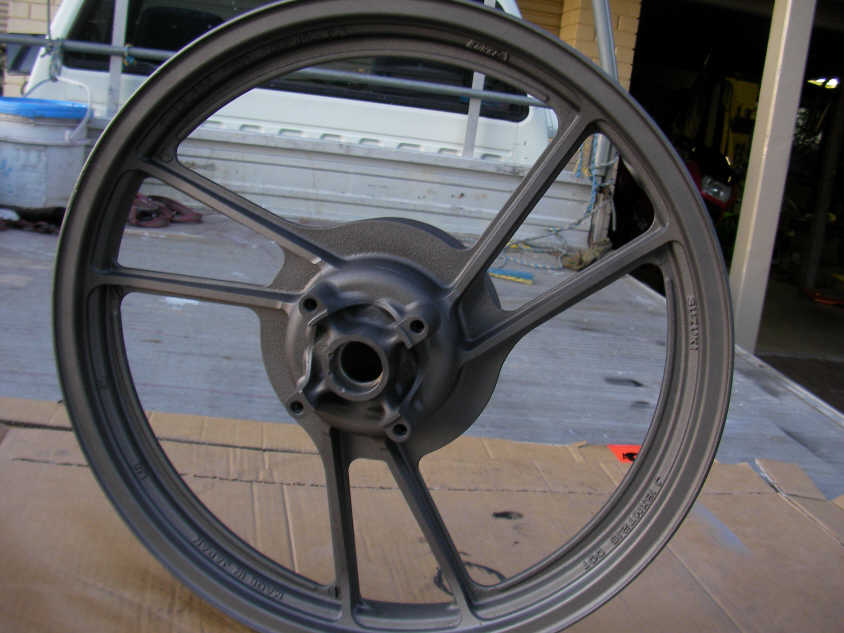
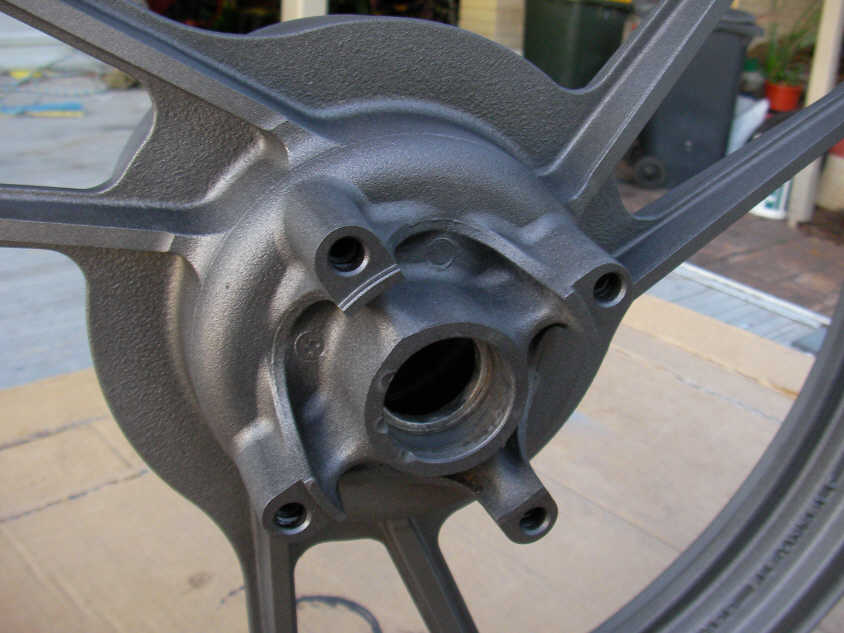
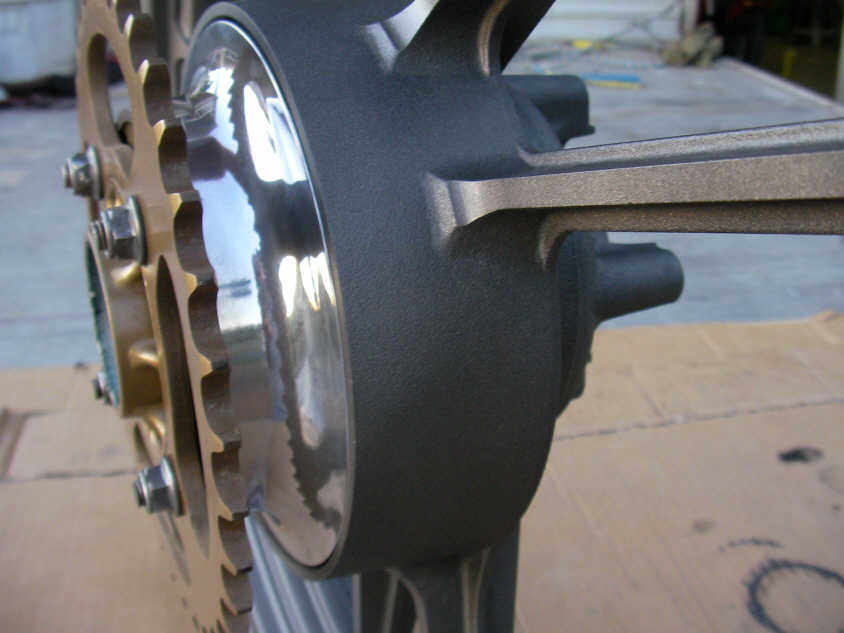
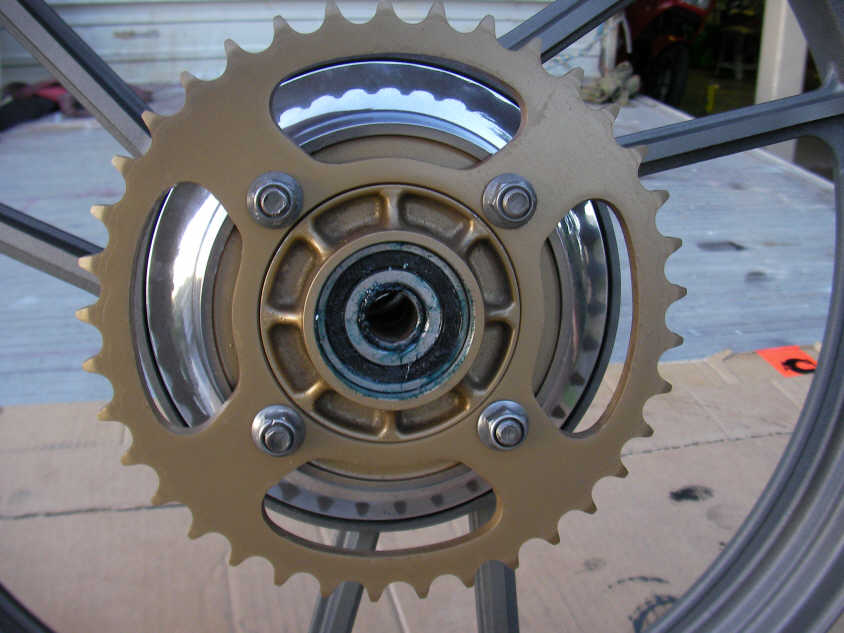
A few pics of the rear wheel restored, I painted with VHT Cast-Iron,
and then a thin coat of clear over top just to make easier to clean.
UPDATED JULY 3 08
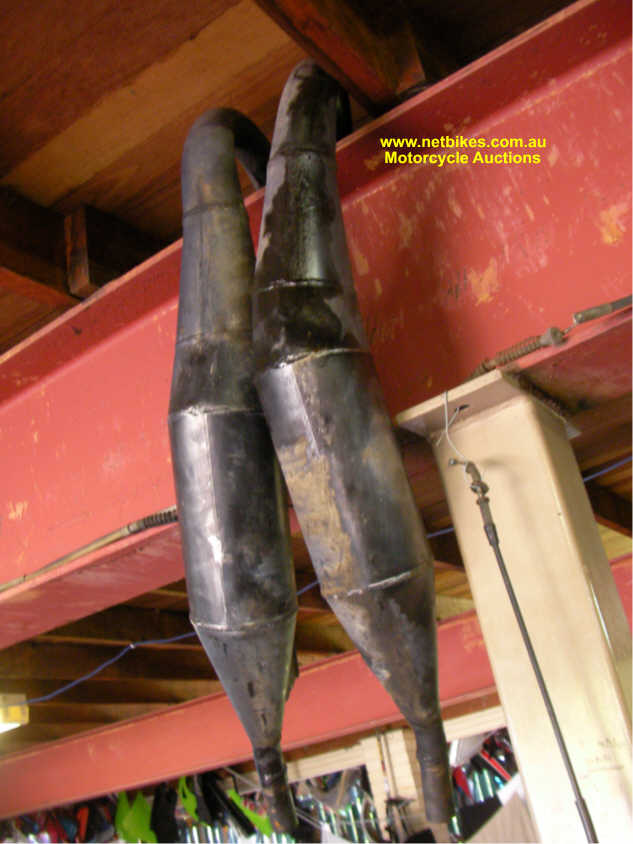
| Chambers are quite light but the mufflers weighed a ton, they will not be reused. Will prepare chambers this arvo for repaint.
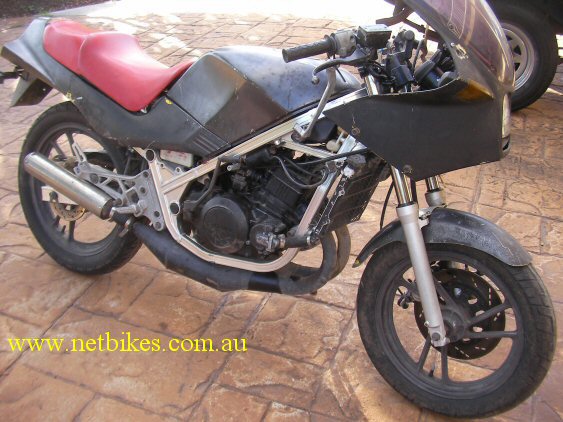
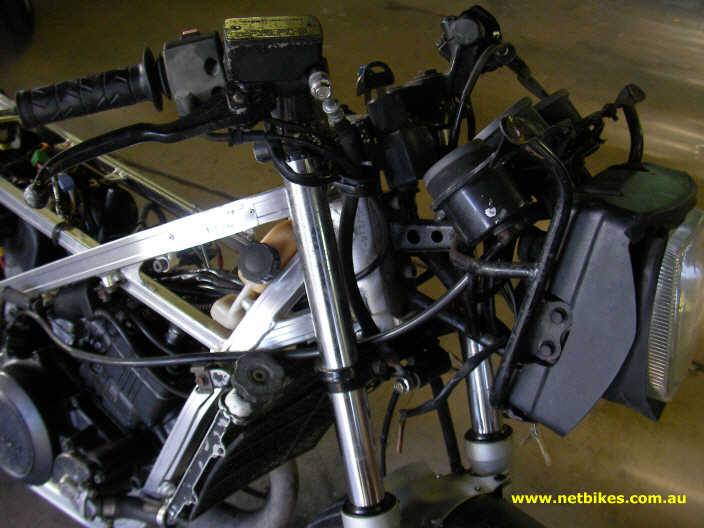
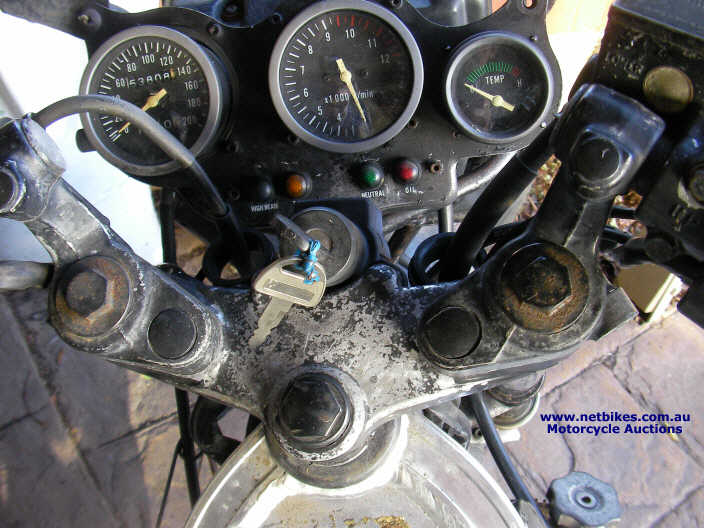
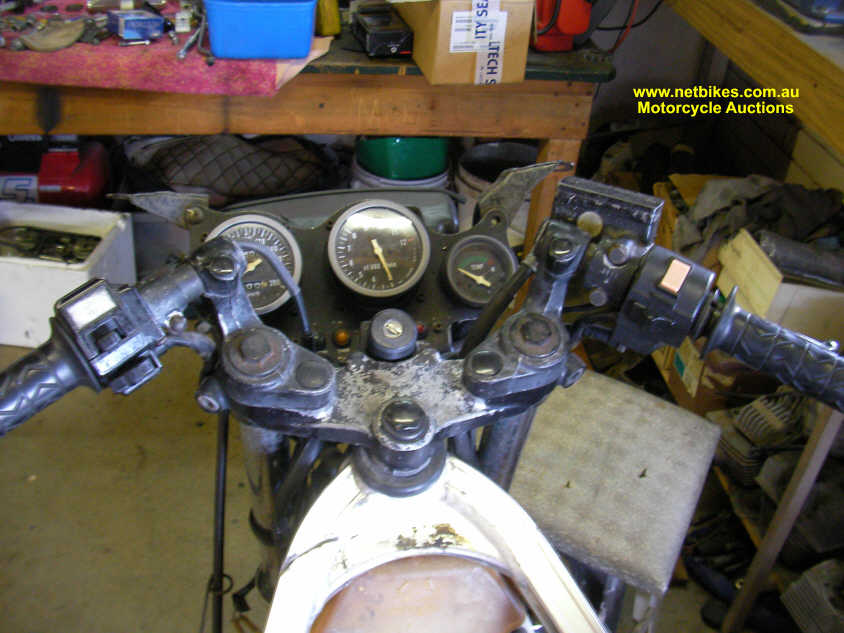
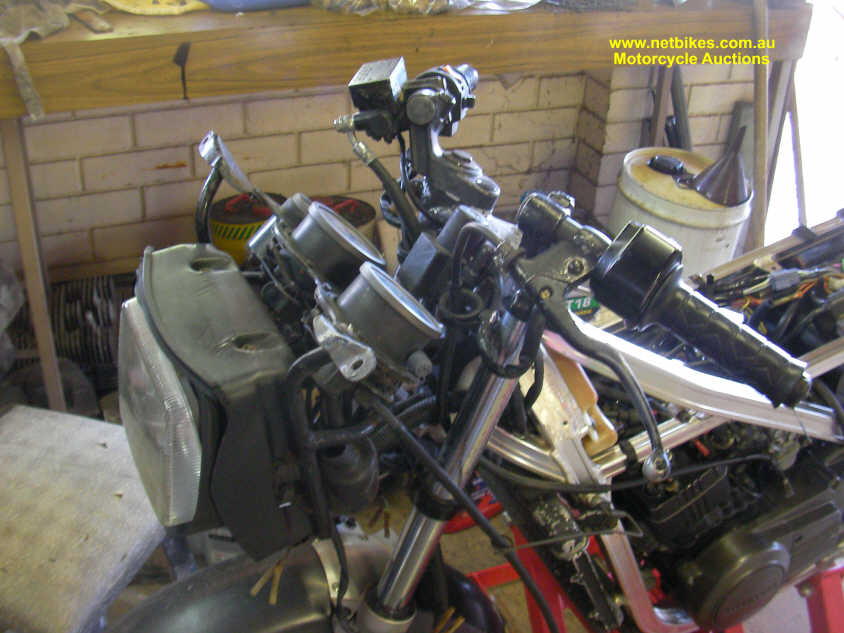
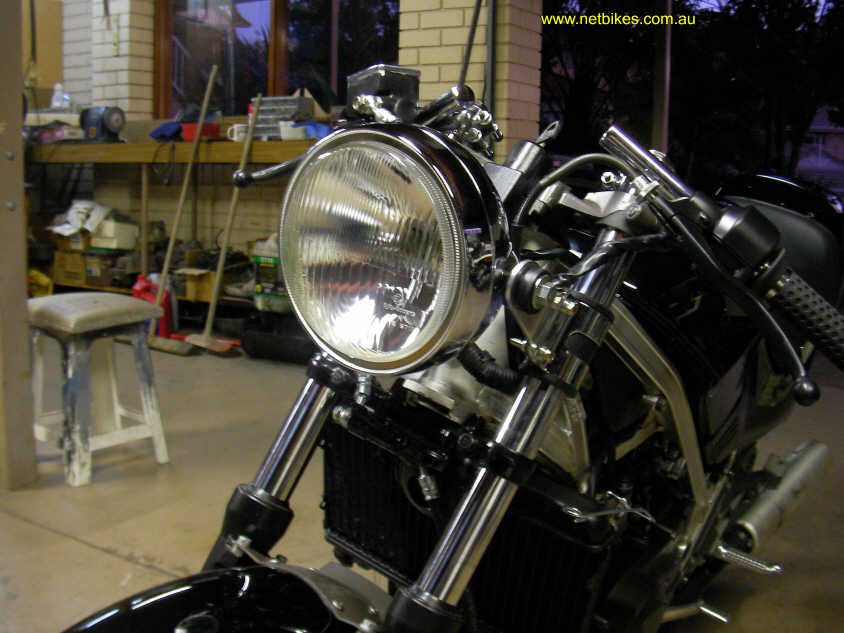
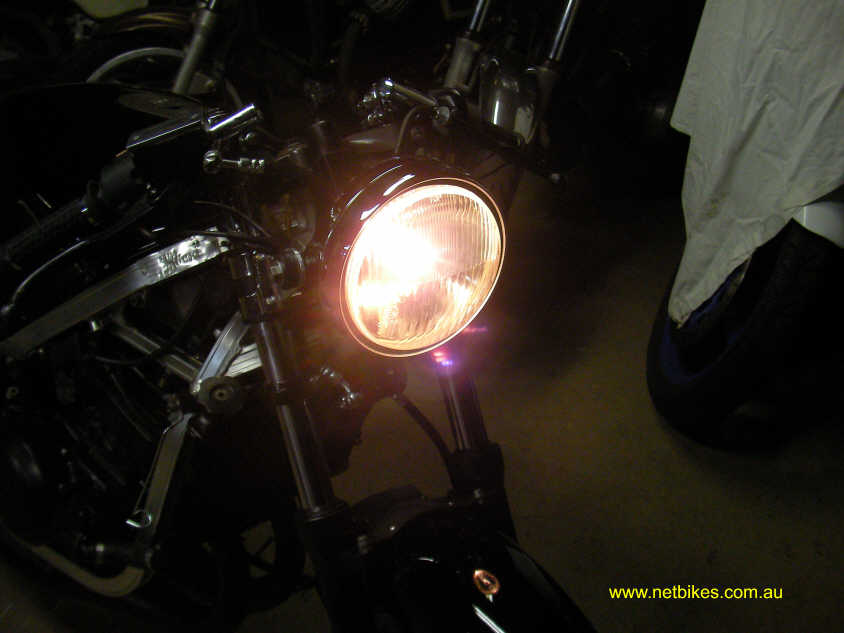
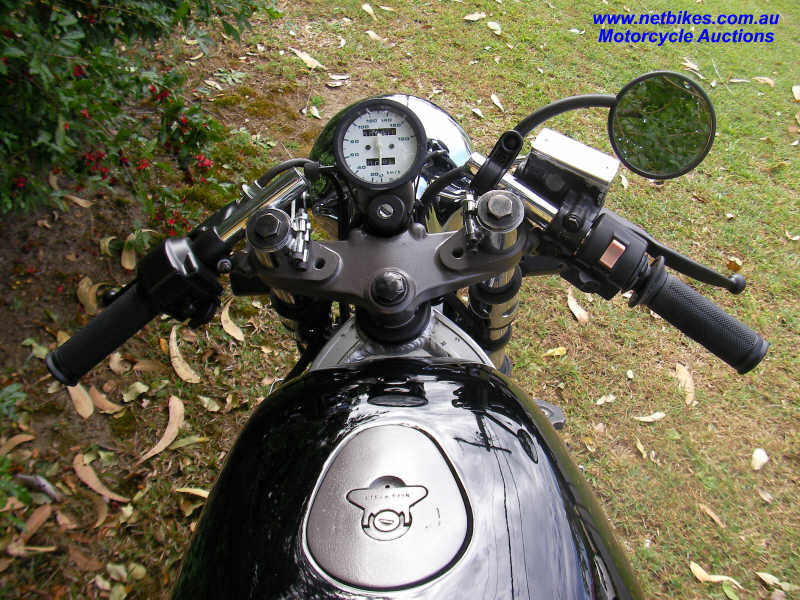
Couple of front end views, it will look very much different when finished. The headlight and bars will not be reused, instead i will fit a round headlight and clip-ons that will sit about 6cm lower. I also plan to use a Stone type fairing, we'll see about that. I may also change the instruments if I can find a nice set from a 85 model, they are white faced. |
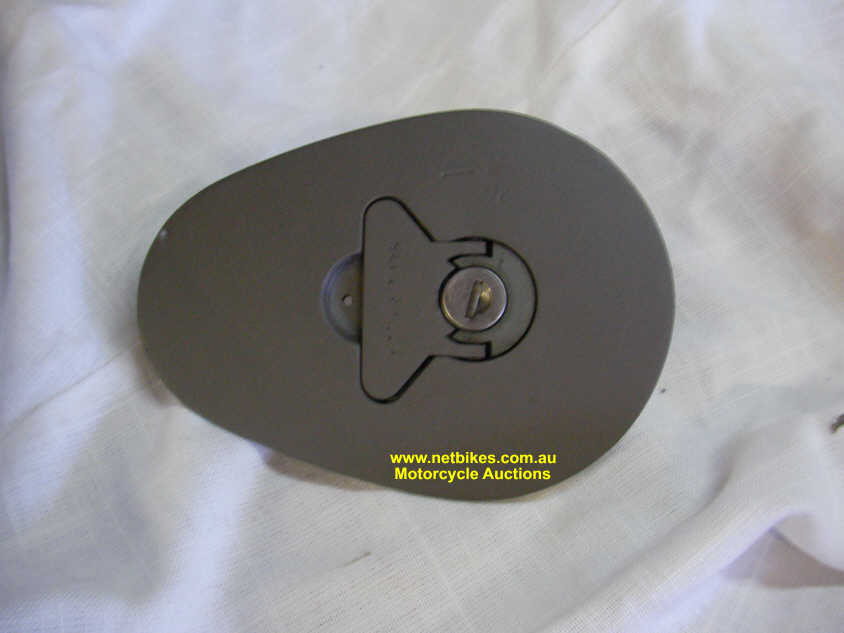

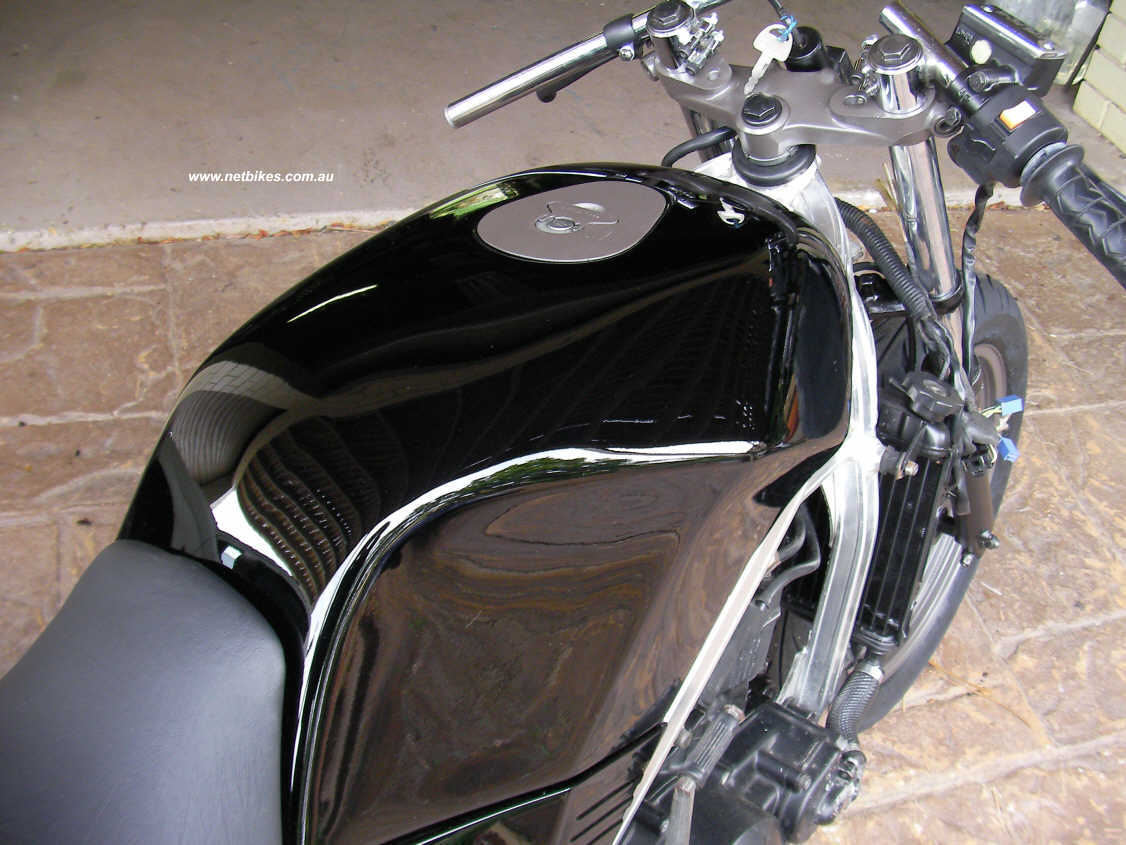
| I have painted the fuel cap in VHT Cast Iron, note sure how it will hold up to fuel yet but i will test in a week or so.
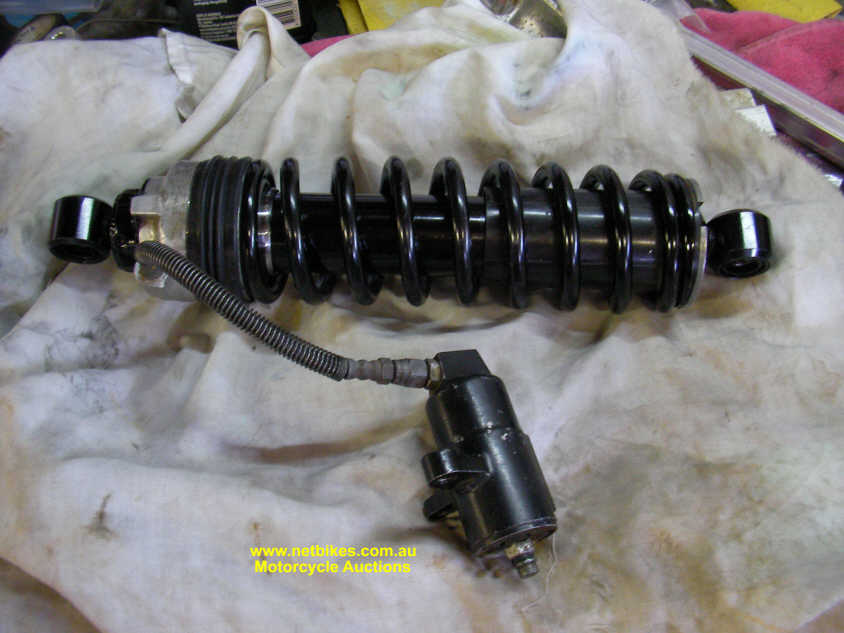
The rear mono shock has been rebuilt by Rad. These are not normally serviceable so they had to break it up to reseal, gas and oil. A stripped out view from the rear, swing arm now has new needle bearings and sleeves. |
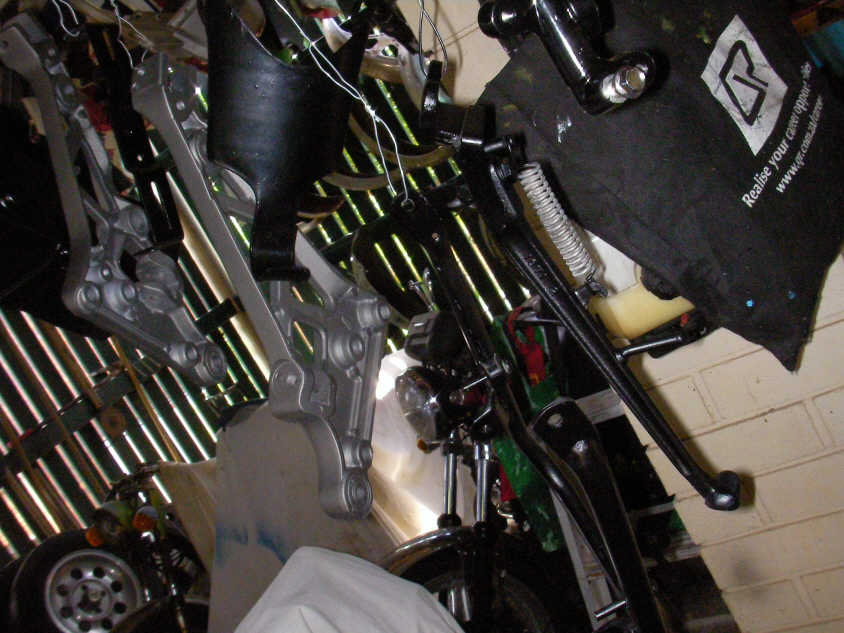
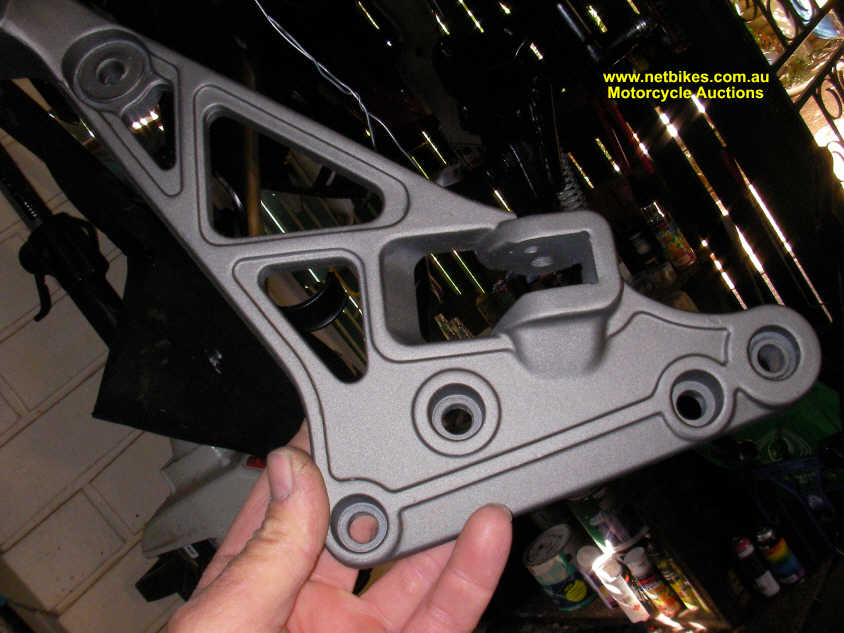

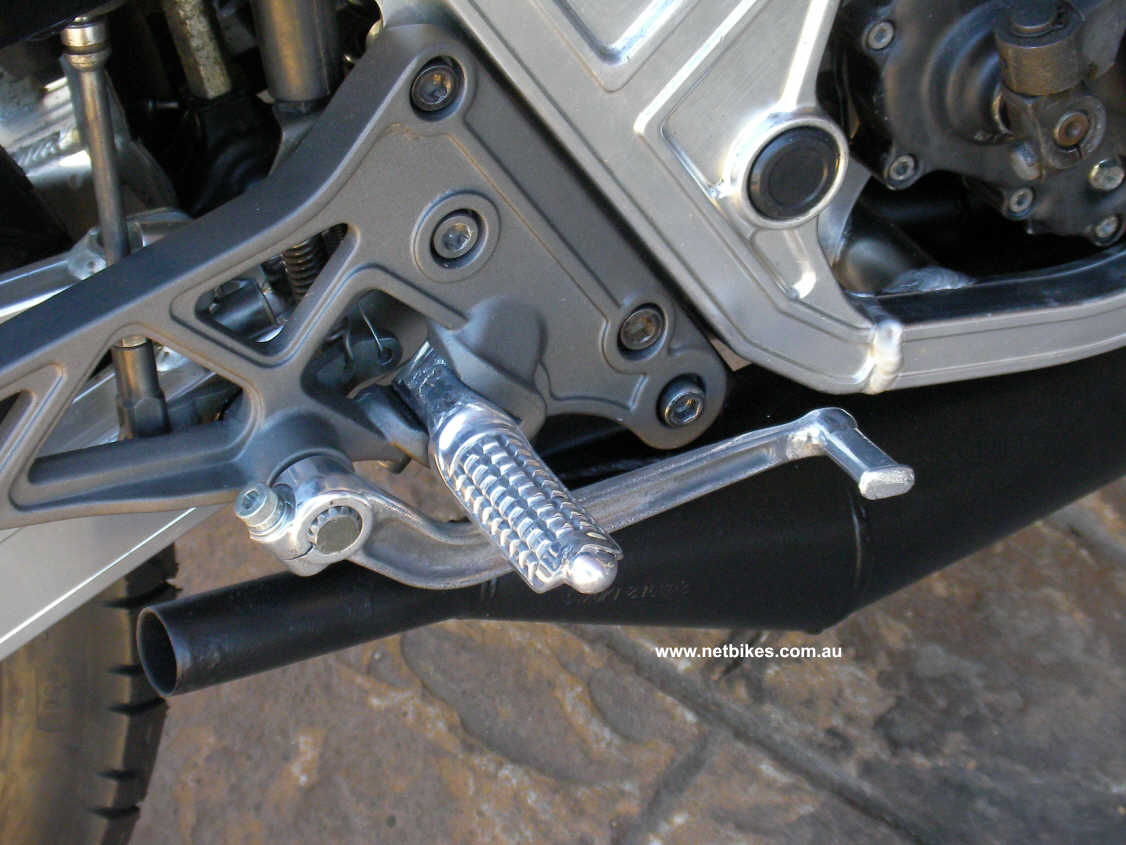
| I few odds n sods I painted black. The peg mounts are again painted in Cast Iron. Pegs are alloy and I have polished them, one has had a previous weld and i will likely replace it. |
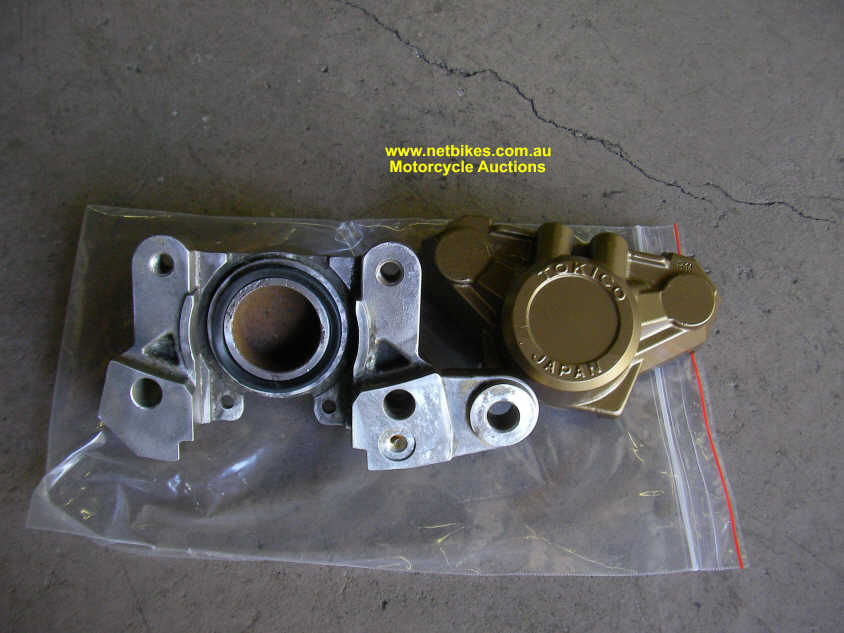

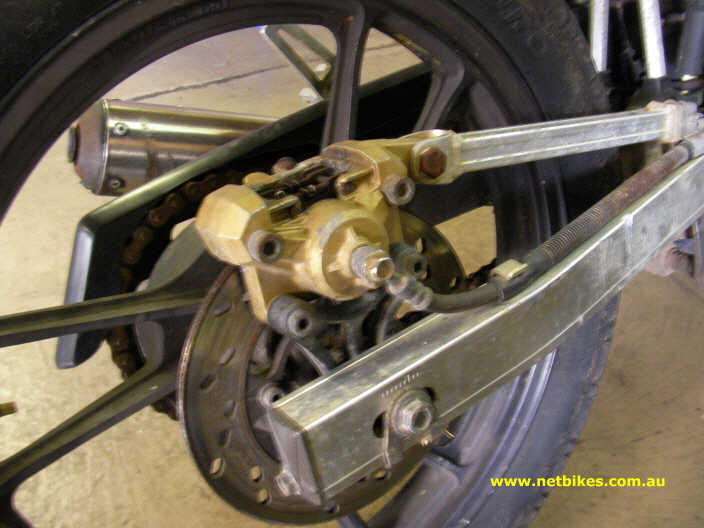
| Rear brake calliper has been cleaned, painted and new seals and dust boots fitted.
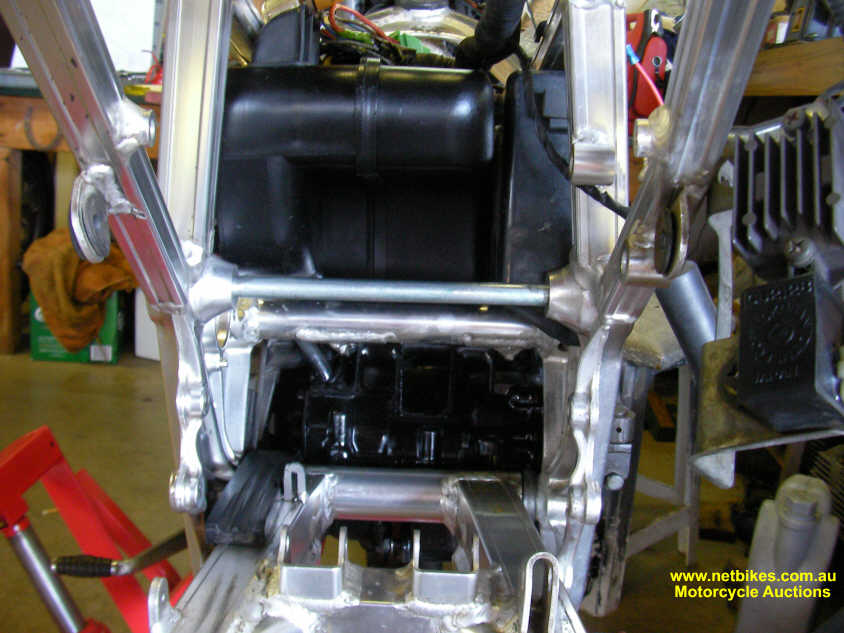
A view deep inside the rear section, found that the rear engine mount was broken and a new one is being made before I can fit the suspension linkage parts. All (bearings) were cleaned and re greased and found to be in good order. The air box was cleaned inside and out and painted with bumper bar paint. |
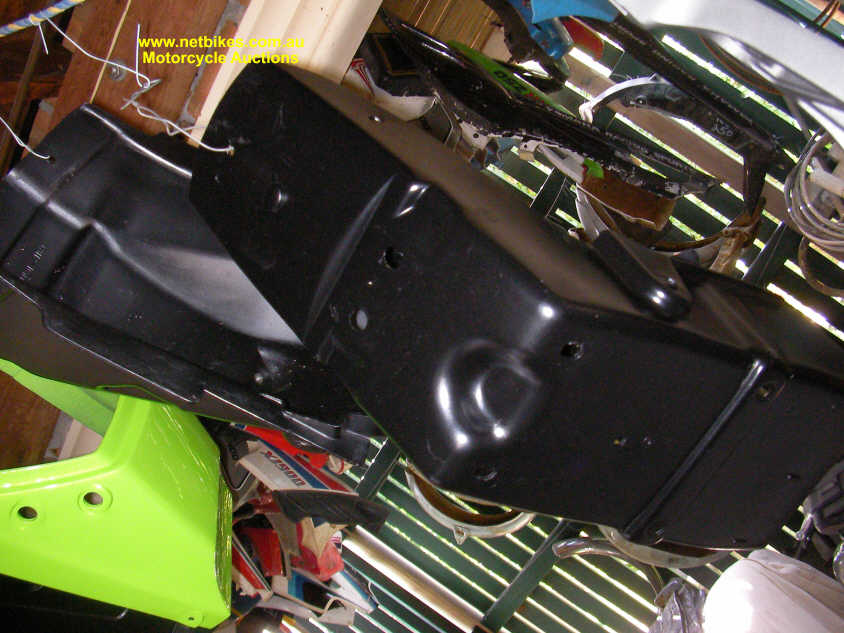
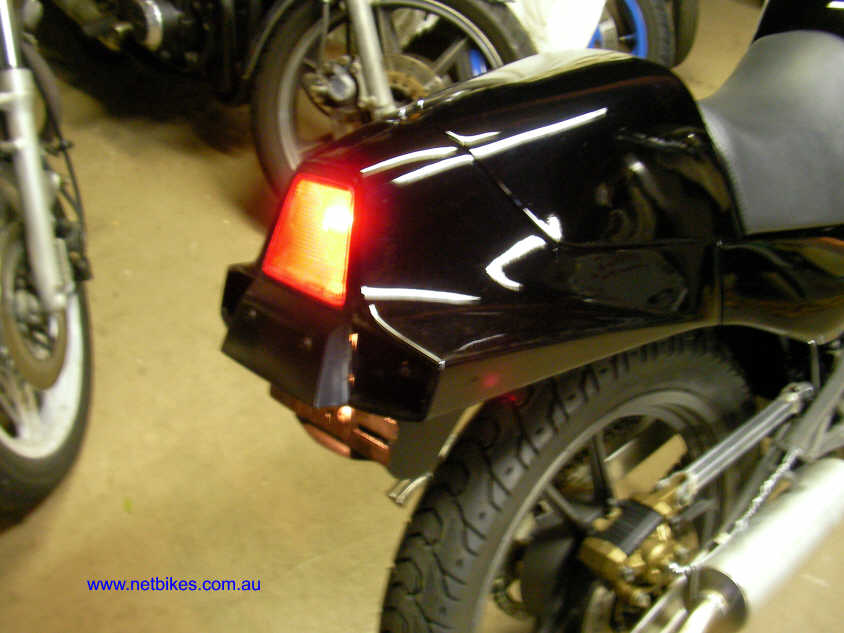
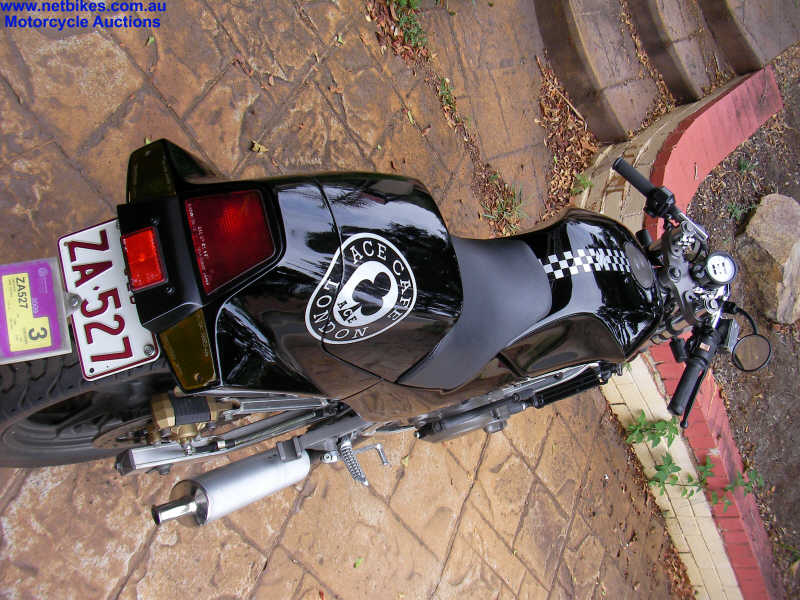
| The rear guard, as with all the plastic parts have been cleaned and painted with bumper bar paint. Not sure i will use this one yet, I may go with the open look if I can find or make a suitable number plate holder.... that is also legal. |

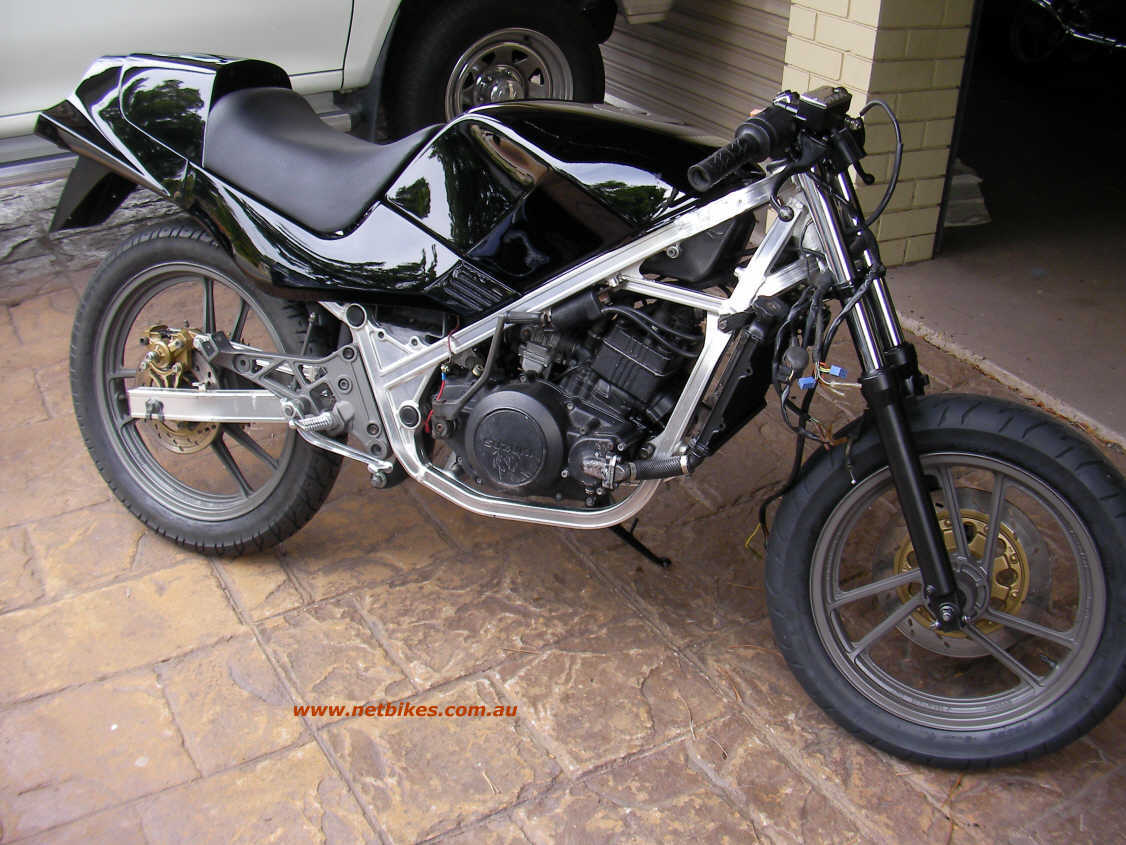

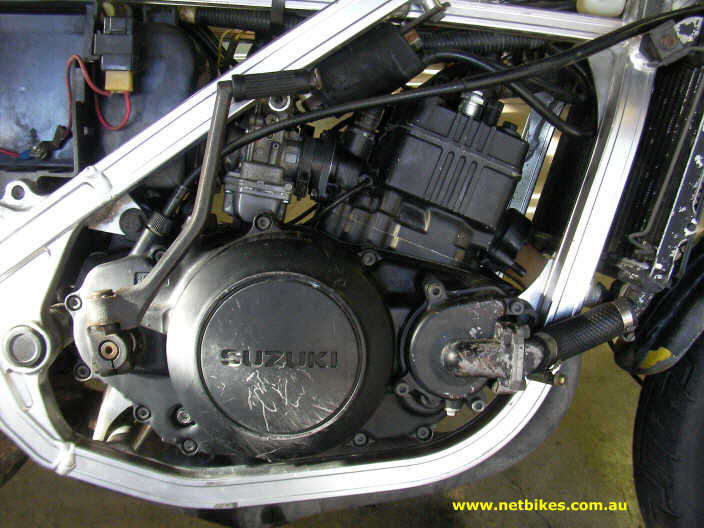
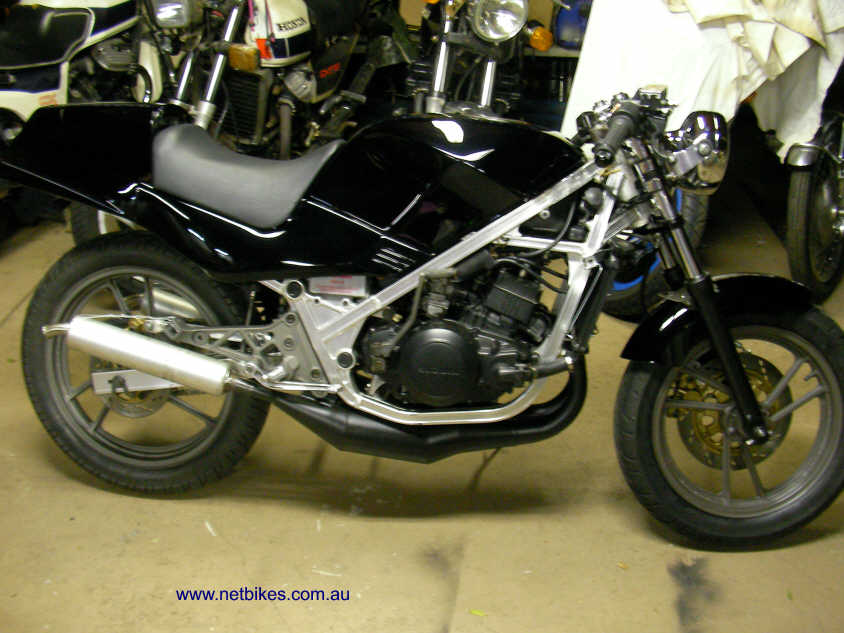
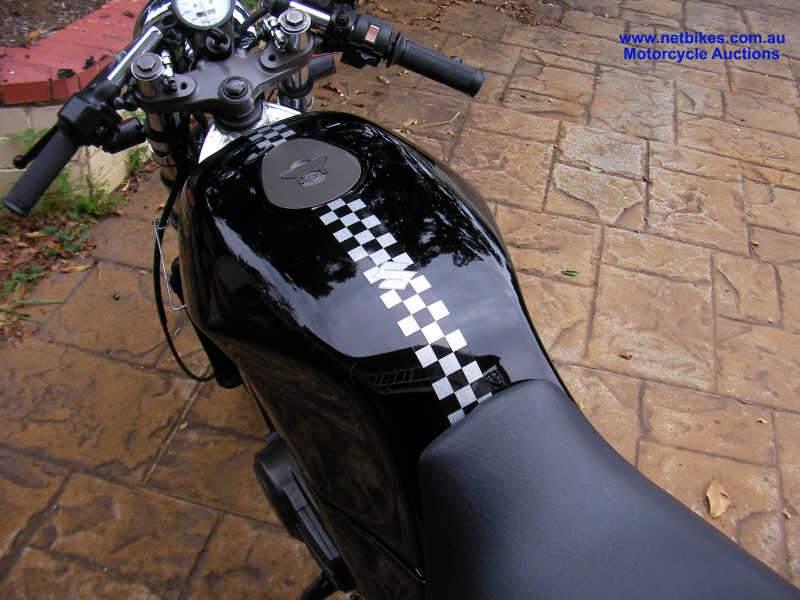
| Starting to look a bit together now with it back to rolling stage, all new wheel, head stock and suspension bearings fitted. My daughters friend recovered the seat and my son and his work mate did the black paint. I told them the blackest black they could find and we called it evil black:-). The tail light assy is fixed in place but the rest is just sitting for picture sake. The chambers are painted ready to fit but I am holding off till I get the front mudguard back, hopefully today, as I need to remove the front wheel to fit it and that is very easy to do with the red lifter seen in earlier pic above. I still need to repaint the clutch cover but will do that after the bike is basically complete. Front forks come through the top clamp an extra 15mm (3/4inch) to accommodate the old school clipons, note sure how that will affect the handling yet but I can always put them under the top clamp if it is too severe, or revert back to the stock ones. Thats it for now. |
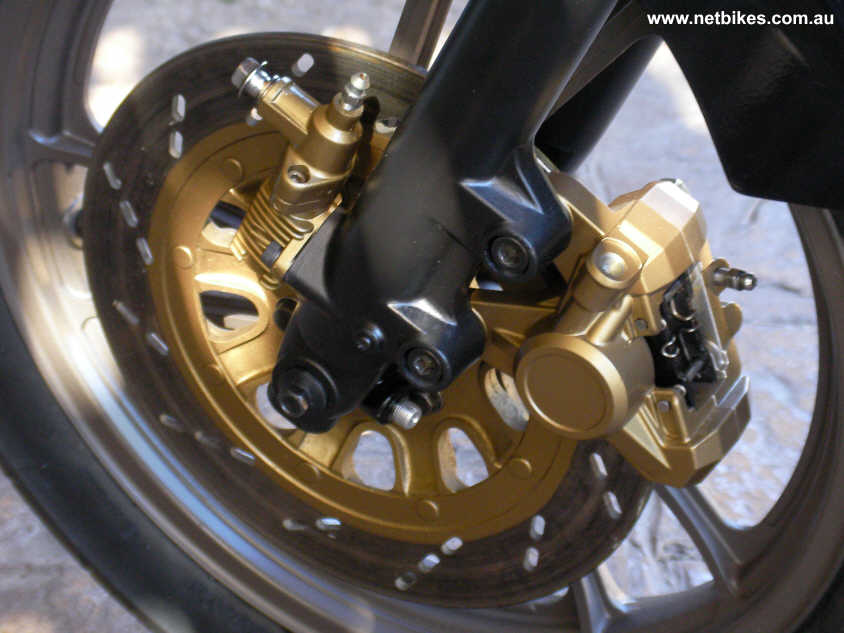


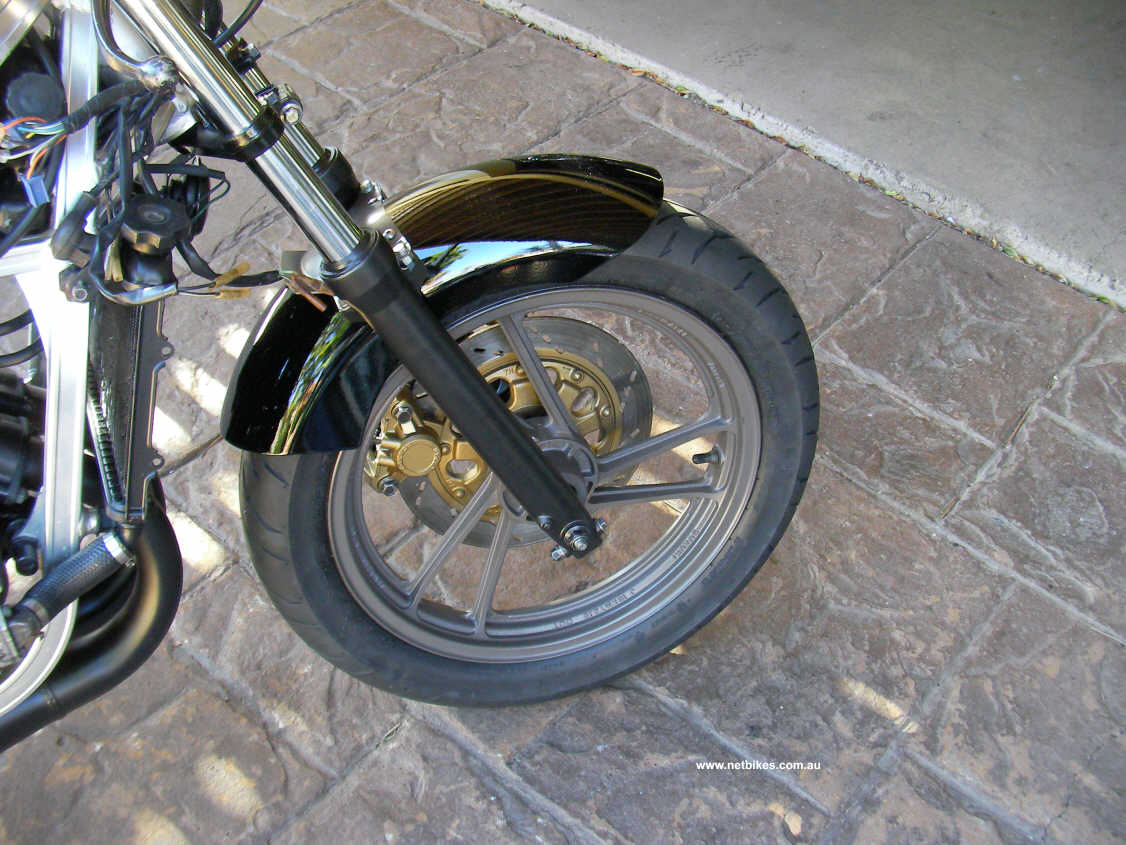

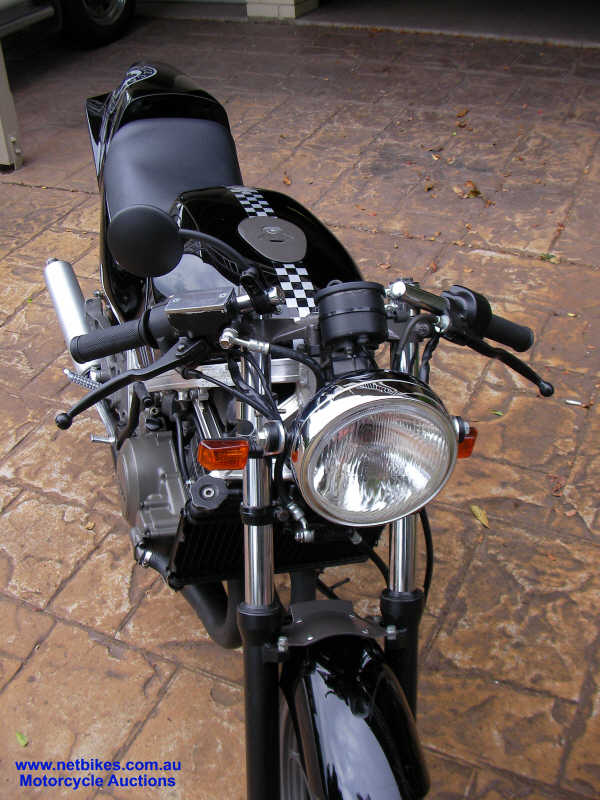
| Just a couple of close up shots of the front guard fitted, the guard is from a Kawasaki KR250 which I have trimmed a little. Check how sweet the front disc area is looking:-), I still need to locate or buy new, the calliper covers, also need to locate amber lenses for the rear indicators or make them myself. I have painted the chambers with VHT 530c satin black. Moving onto the headlight and fairing next, a new round headlight to go with the old school fairing i will be was fitted.. |

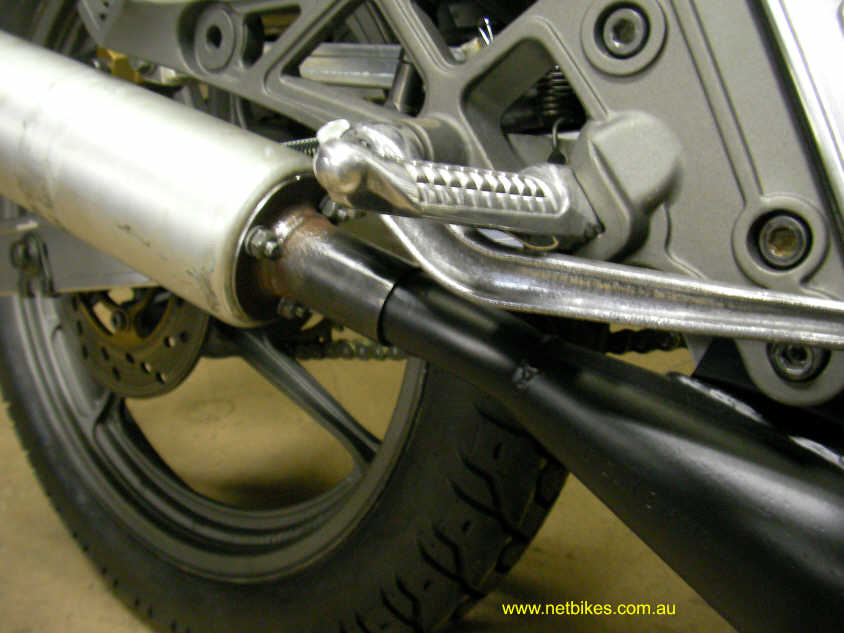
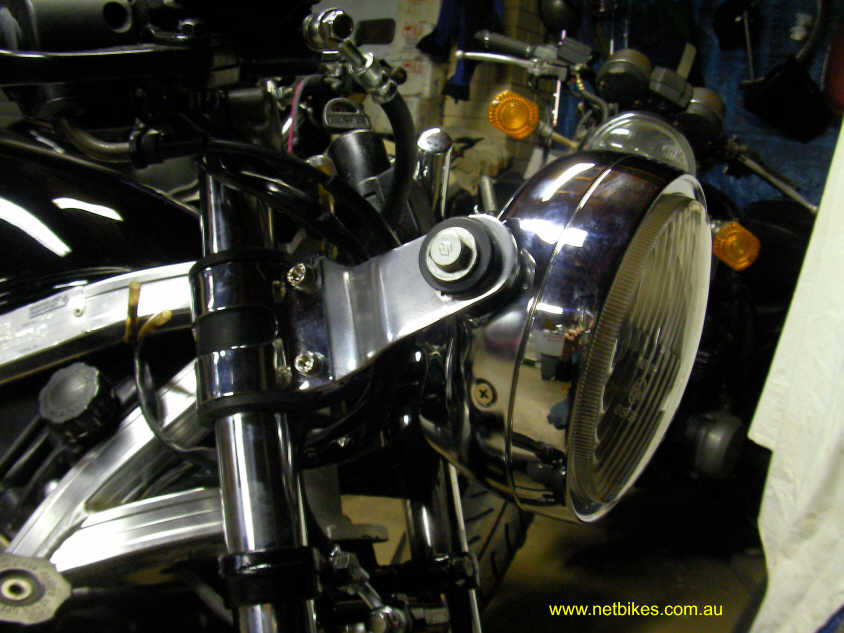
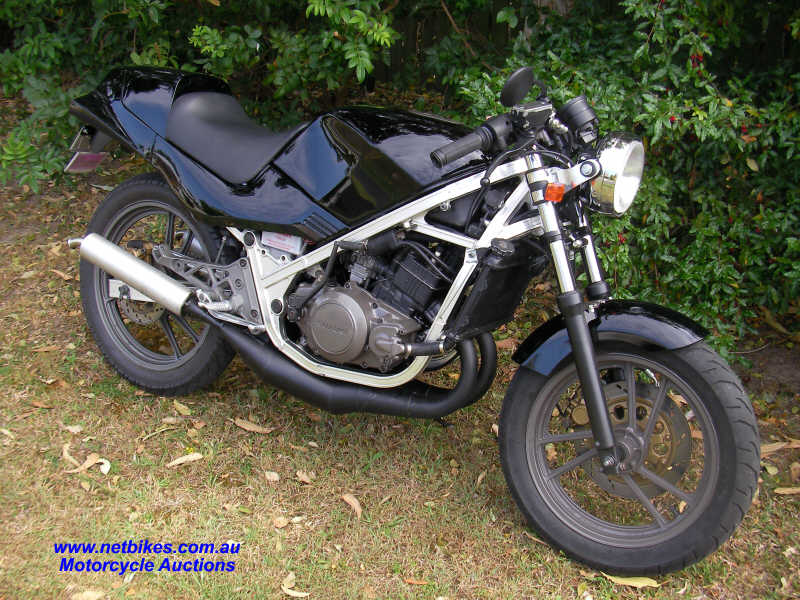
| After stuffing around with the original fairing mount I finally came to the conclusion that it just wasn't going to work with the retro fairing I want to fit, it stuck too far out the front and looked s#@$, so I purchased some accessory mounts and the fitted the headlight old school way, looks pretty good and a couple of mates think I should leave it as is, an option I will consider. On the to do list next is make a instrument bracket or modify the original and then fit them up. The cans are from a RS250 and part of the original muffles inners was used to make the mounts over the chambers. (thanks Scott).That section will be welded to the chambers as the cans are easy to remove via 3 securing nuts, see pics. The cans are wired up in the pics so I could test ride the bike, runs really well except almost no clutch so probably new plates and or springs are required. I will pull the cover and check all out soon. |


| VJMC member and friend Steve Day welded the mounts for the mufflers to the chambers, thanks Steve.
Have now repaired clutch with new fibre plates and V-Rings. Left to do are make instrument bracket add a couple of decals and polish up the muffler cans, I think thats about it. Bike rides and runs fantastic. |
| A friend made the decals for me, he is no longer in the printing business and I now use Decal Design at Slacks Creek. |